 Thanks:
  Likes:
 Your dad is still with you right now on this build don't forget that, he's looking down saying thats my boy.


Your dad is still with you right now on this build don't forget that, he's looking down saying thats my boy.
Well said.
Jeff

Dick,
Your Dad was a great guy. He will be sadly missed by all who knew him. Rest assured, he is waiting for all of us at "Lake Paradise"!
Dick,
Owen was a great guy and lots of fun to chat with. He sure was proud of what you have achieved and very interested in what you were doing. I'm sure he is still with you in spirit. My condolences for your loss.
Mark

Dick,
My sincere condolences on your loss. Didn't know your dad very well but when our paths crossed his personality was very outgoing. I enjoyed talking with him.
John
Last edited by John Schubert T*A*R*T; 09-24-2013 at 06:06 AM. Reason: spelling

Thanks for the words about Dad. He is the one that made sure all the bases were covered. We will carry on with the project and he will follow along.
Have finally got the transfer blends glued into the block. What a project the turned out to be. To start, it was 2 inserts per day, tried more but had problems. That equates to 12 days to clamp and glue alone. 2 weeks.
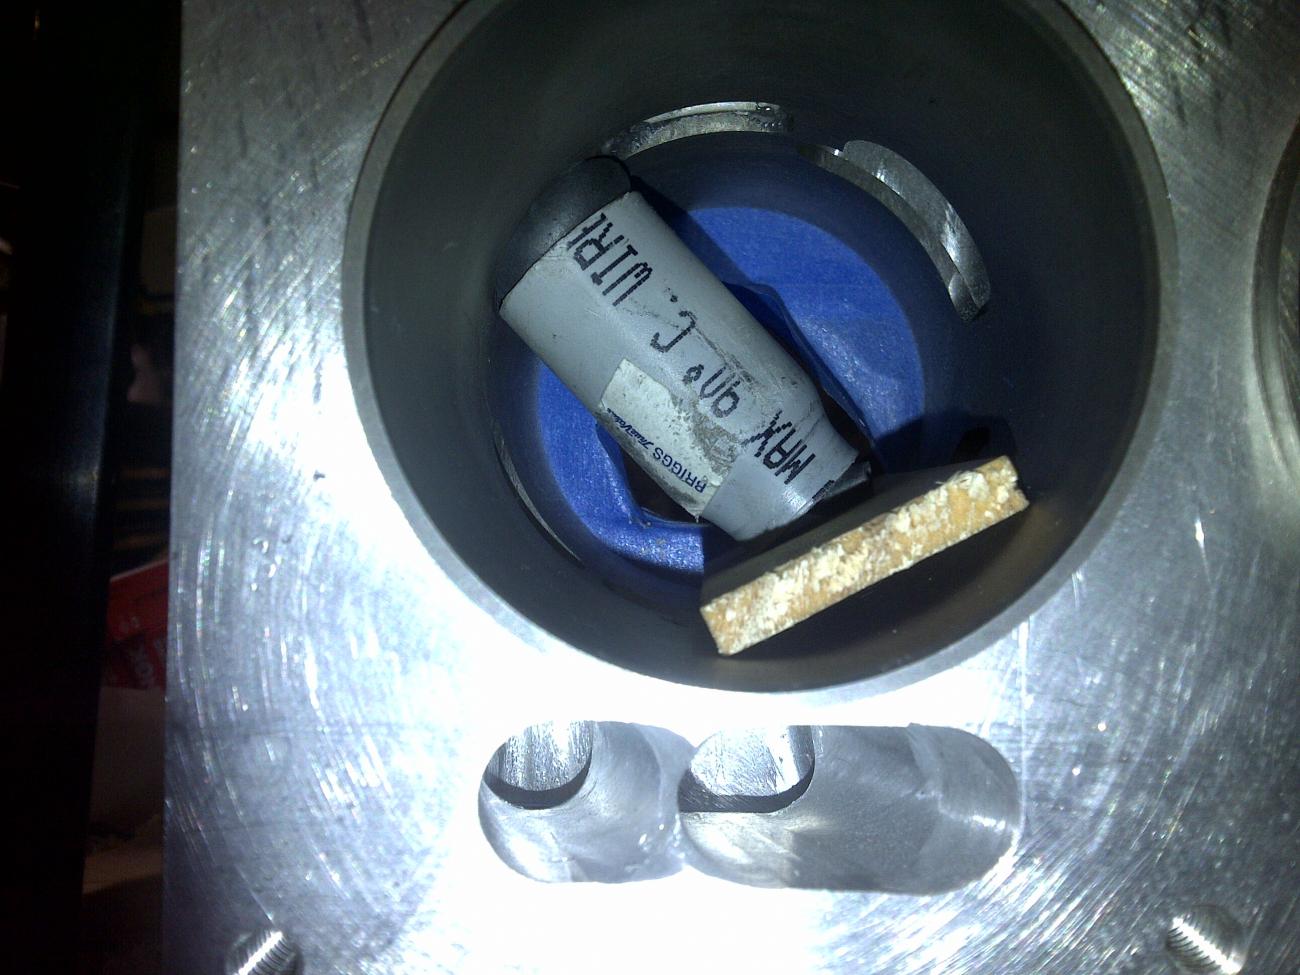
The inner tube was a real challenge. It was in place to keep the JB Weld from leaking around the insert and into the passage and cylinder. The JB was thinned with acetone to a pour-able state, as per JB direction. I probably cut it a little more than their recommendations to make sure it would flow thru the tight clearances.
As viewed in the pictures, the tube would just inflate randomly, due to the wall thickness. I had set it up with a pressure regulator to maintain a constant pressure as it had to hold for 18 hours to prevent leakage. The thinned JB takes 12 to 18 hours to set enough to stop flowing. After a side was completed, it was baked in the over at 125 degrees for 4 hours to achieve a final cure.
The first side was an experiment of trial and error to find the right setup to hold 18 hours of pressure. The tube would just bust after a few hours or cut at the port at cylinder opening. Of course, that would take place after I had left for the night. The advantage to the first side was that I could cross thru the ports on the opposite side to enter and clean out any leakage. I knew that the problem had to solved before the second side was attempted. There would not be any way to clean the leakage.
The answer can be seen in the pictures. Complete containment of the tube. Only a small section in the cylinder next to the port opening to allow the tube to swell into the port opening and seal. Just enough pressure to cover the perimeter of the port. 10 PSI. Worked good, did not blow tube but still leaked a small amount. The final answer was the turn the tube inside out to put the mold ribs of the tube on the inside and have a smooth outer surface. Problem solved and side 2 went with out problems.
Finally got all the inserts glued into place and machined the two sides of the block. Bolted the block and case assembly together in preparation for drilling the tower housing studs.
The unit is progressing faster that my attention to keeping up with the posting. I will catch up in the next. week.
Just added pictures of the block after insert installs and machining.


OK, now i understand what you were doing with the intake ports. First time during this project I was confused by the explanations. I have seen some quincy loopers with ports covered, but not all. Why some and not all?
To my knowledge, none of the original Quincy engines were filled / covered. I believe that was done on some of the copies produced after Quincy production ended.
The pieces installed in this engine are actually formed to direct the flow of the charge into the cylinder. Go back to page 19 and you will see what the insert looks like.
I check email and am notified of another post and I'm like whats the mad scientist posting now can't wait to see and read all about it.Keep up with the great work, I'm enjoying the heck out of this thread.
Chris
There are currently 22 users browsing this thread. (0 members and 22 guests)
Posting Permissions


Bookmarks