
 Thanks:
  Likes:


The following group of pics will complete the pattern for the mid case casting. The first pic is the crank side pattern turned over exposing the side with cheek patterns and the block side stack up laid in position for gluing to the block side board. Pic #6 is the block side board, which is removable to allow the release of the cheek sand parts, turned over, exposing the underside with the boards from pic #1 glued in position. The last 4 pics are the mold closed up and looking into the sides that produce the cheeks for the sides of the casting. The circle impressions and half circle mounds in the face and on parts of the patterns are alignment points for the sand parts to set in the correct position when assembled for the pour. The under side of the block side pattern has split circles because the separator board is missing when the sand is set. The moving of the side cheek sand together brings the half circles full for alignment. That separator board was the hard part to the development of this pattern. Each time I had to remind myself that the part of the pattern between the top and bottom was 3/4" to wide and the cross section of the part would be OK in critical areas when in the cast position.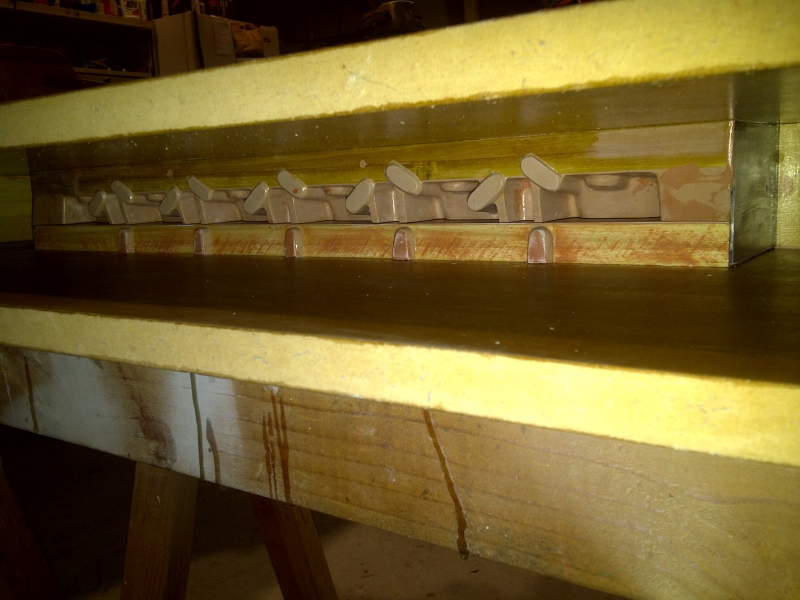

Bookmarks